Help
How to Guides
We are committed to providing excellent support to our valued users. If you find yourself in need of further assistance or have specific inquiries, we encourage you to reach out to us through our convenient contact form. Your queries submitted through this form will be directed to our dedicated team, ensuring a prompt and tailored response to address your needs. Thank you for choosing our services, and we look forward to assisting you.
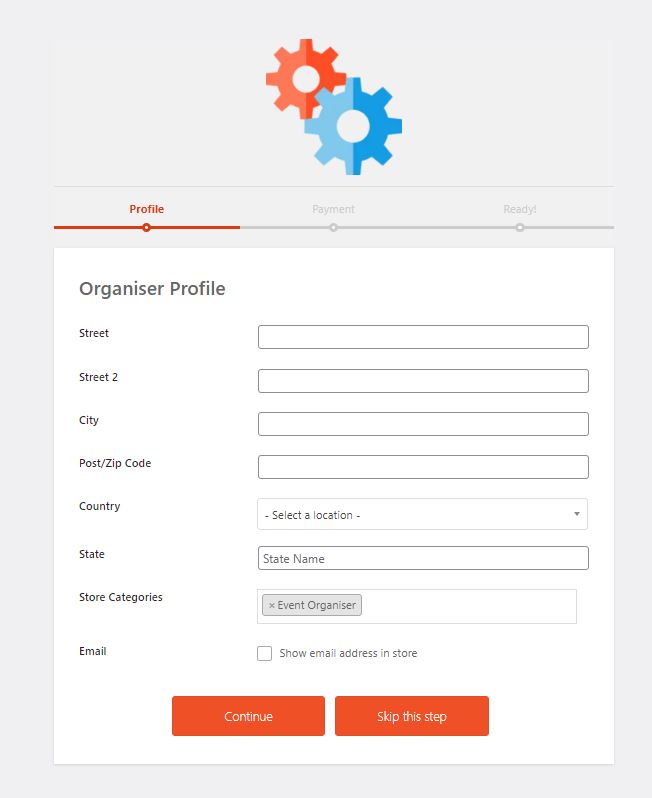
Click on Event Organiser radio button and complete all the required fields.

Complete the profile section.
It’s important to connect or create your Stripe account at this stage to receive ticket sale money to your account.
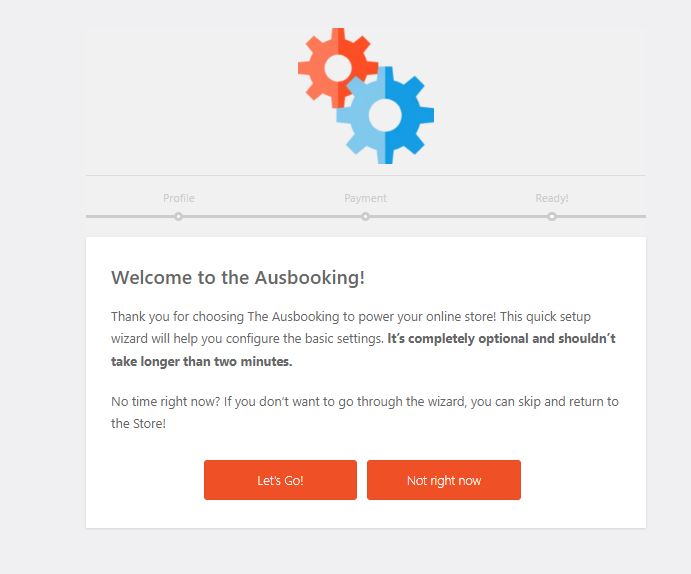
Connect or Create your Stripe account here.

You are all set! Crate you Event and start selling!
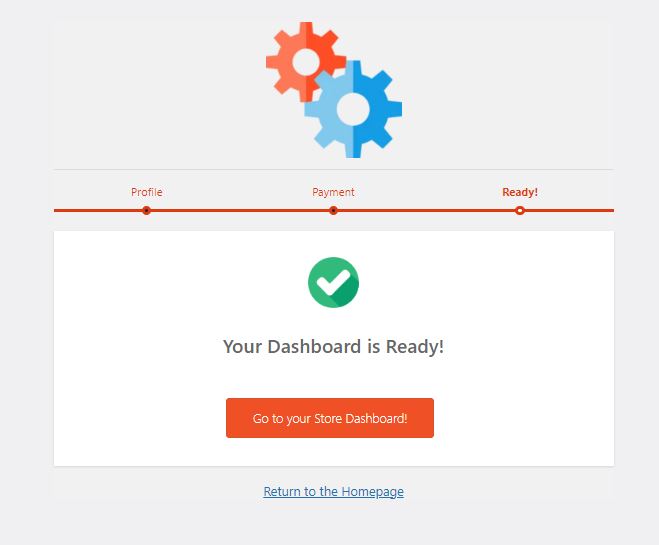
Now it’s time to create your first event.
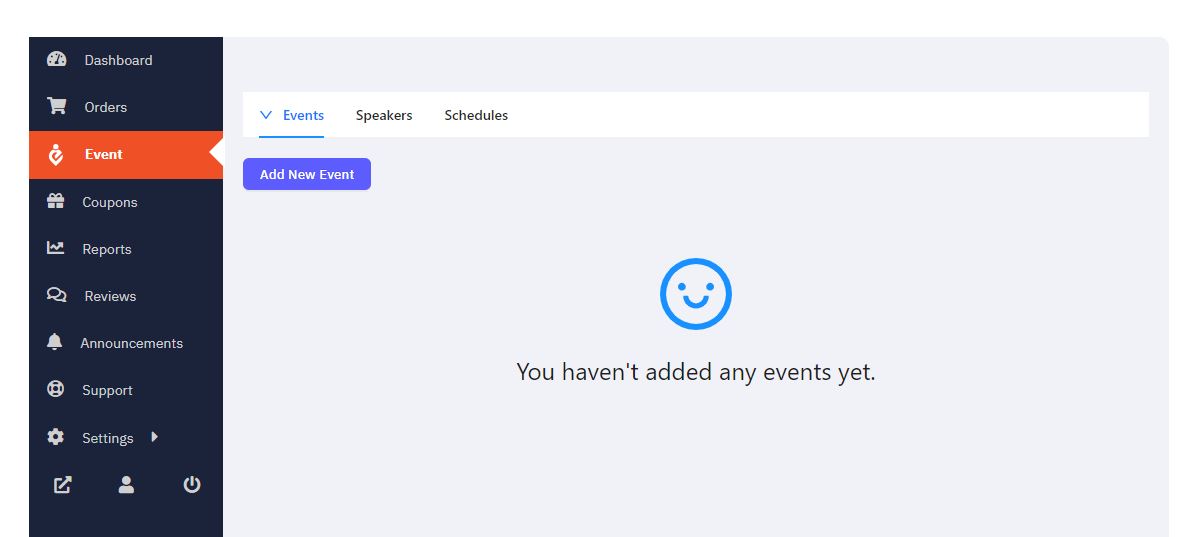
From the navigation menu click on Event and Add New Event button.
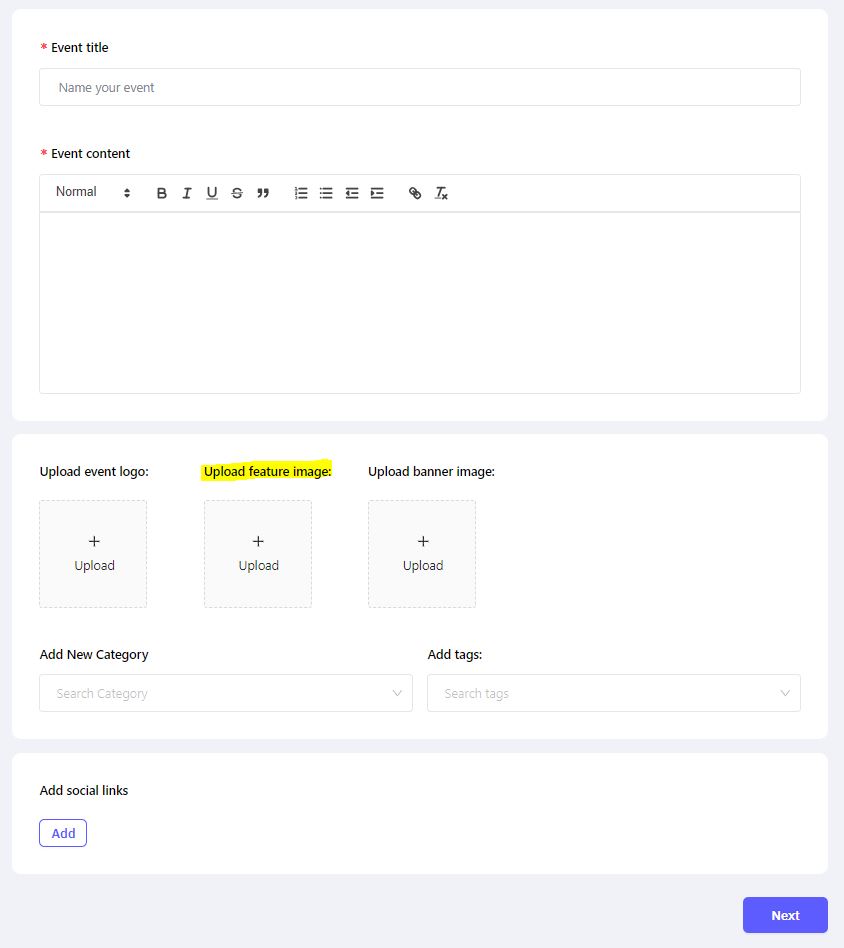
Enter the Event Name and Event Content. Upload the event poster via “Upload Featured image” (ignore logo and banner image upload options).
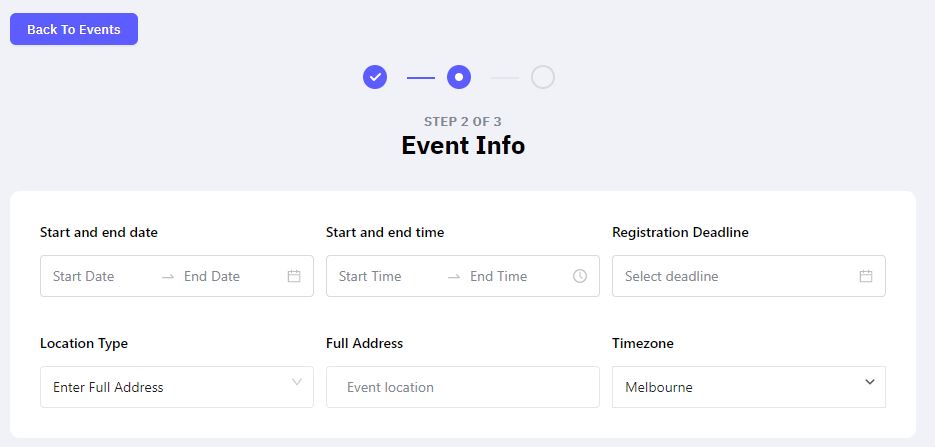
Now update the Start and end dates and then Start and end times. Ignore Registration deadline field. Type the event location in “Full Address” section. Also, it’s important to select the correct Timezone.
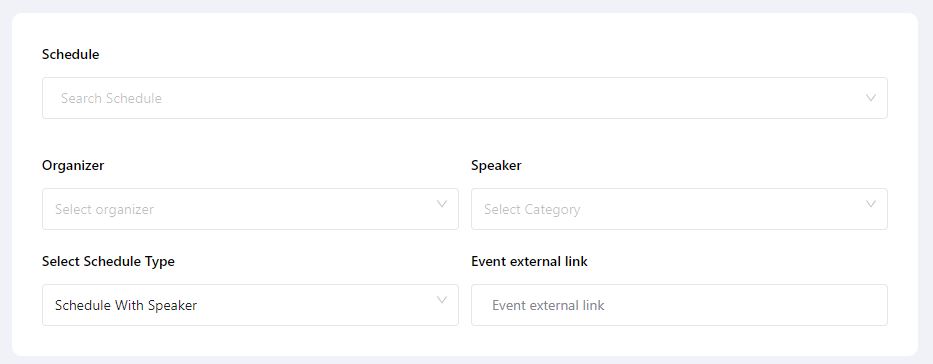
In not applicable… Skip the Schedule and Organizer section.
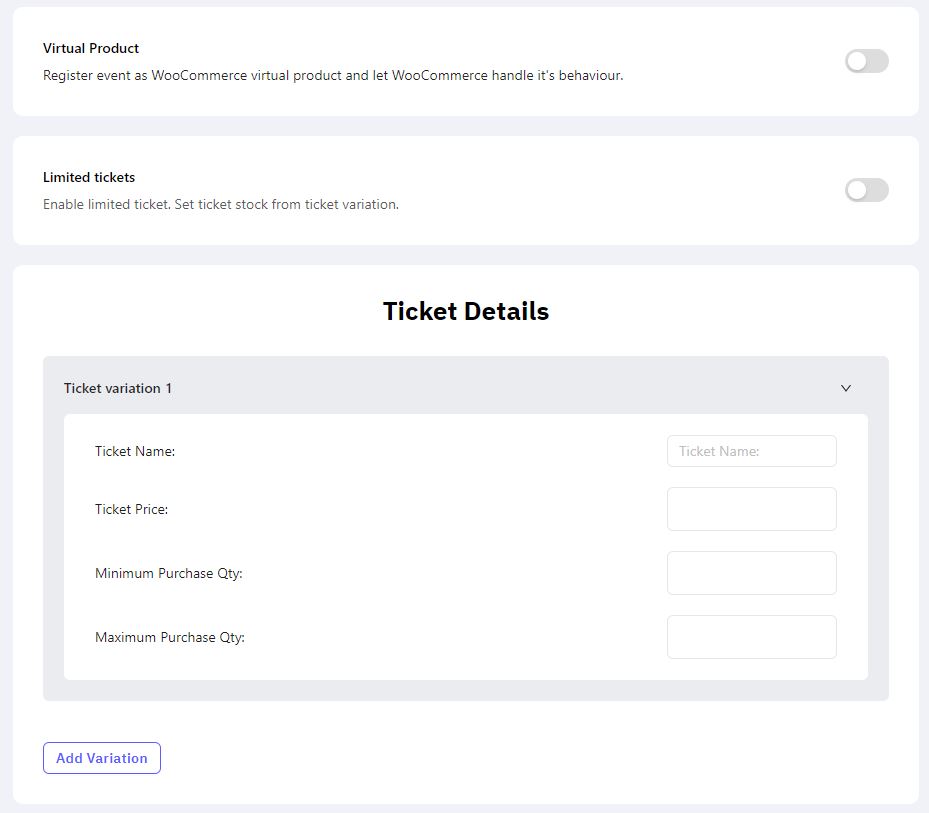
Now time to create the ticket types. Select Virtual product button and then enable “Limited Tickets” button if you have set amount of Tickets for each variation( e.g VIP =50 General = 100). You can add many variations as required.
NOTE: If you need Seat-map or Table set up, please contact us with the venue details and sample seat map/Table arrangements.
